 |
| Charging the 6V battery |
With this 1 cylinder 2 stroke bike the ignition points are hidden behind the flywheel magneto and this flywheel has to stay on the bike if you want to set your ignition timing. This because the cam that opens and closes the points is part of the flywheel magneto.
 |
| Ignition points - flywheel magneto removed |
If you have a set of brand new points it's, according to the manual, pretty simple; Just look for the max gap opening and make sure it's between 0.3 - 0.4 mm. That's it.
The points on this bike looked still pretty good so I decided to give them a second chance.
The manual says nothing about timing marks on the flywheel or other parts which I could use. Ah Well, maybe I'll find them while setting the ignition timing.
In order to set the ignition timing on two stroke bikes most manuals will give you a number BTDC (Before Top Dead Centre). For the Yamaha LS3 this is 1.8 mm BTDC. The spark plug has to fire at exactly that moment in order to give the best engine performance.
 |
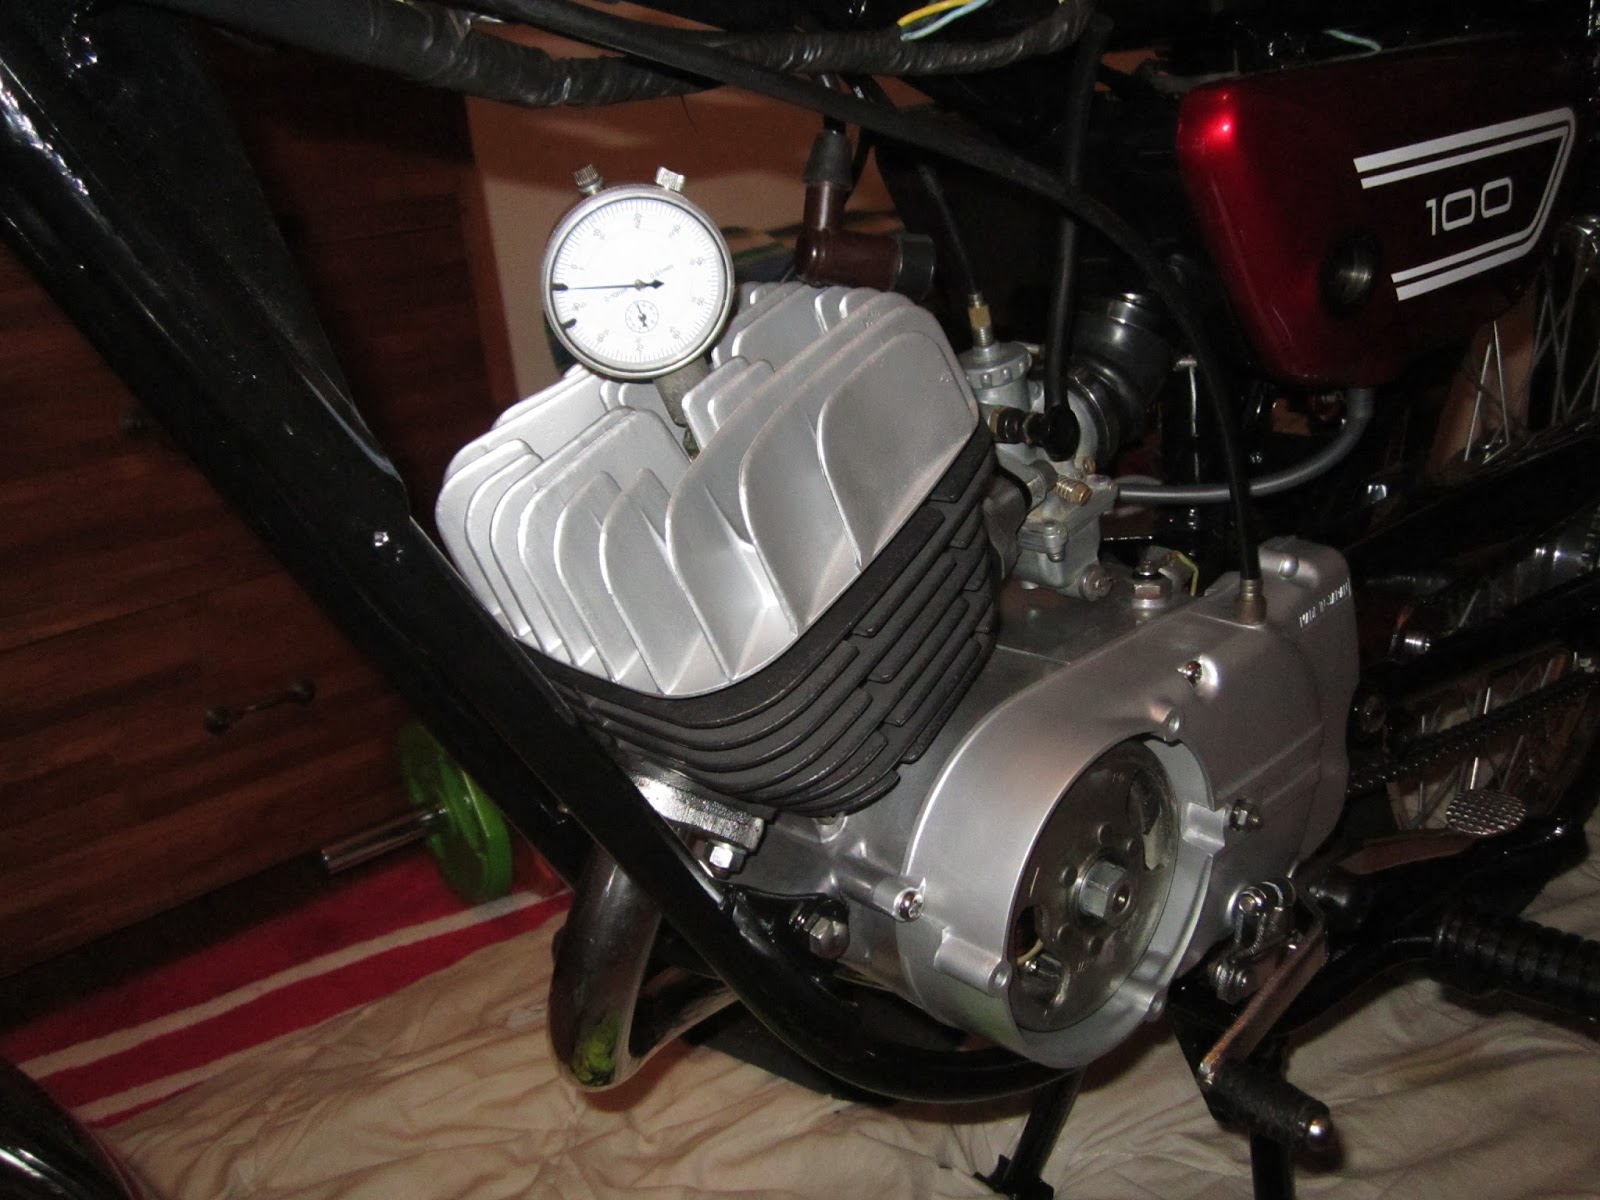
| Dial gauge ignition timing tool |
 |
| Dial gauge ignition timing tool two stroke Yamaha LS3 |
So the ignition points have to open at 1.8 mm BTDC. But how can you see when they open? First I tried it just by looking... not very accurate. You can also use a cigarette paper. Put it between the points and as soon as you can move it the points are starting to open.
Most old school bike shops use a buzzer to find the right spot. And in my pile of electronic waste I found an old buzzer, the ones they use in cars to warn you when the lights are still on. Now you only need a 6V battery and some wire with crocodile clamps.
Connect the red wire to the pos (+) of the battery and the black to the black/black-white wire frome the iginition which goes to the ignition coil. Connect the Neg(-) of the battery to a ground/earth point on your bike. I used the chrome shift lever. Don't forget to turn the key of your bike. If it's switched off you won't hear any difference in tone while looking for the right spot.
 |
| Ignition timing tool two stroke engines - buzzer |
 wire to the black/blackwhite coil lead - ignition timing two stroke") |
| Connecting the pos(+) wire to the black/blackwhite coil lead |
 |
| Flywheel magneto ignition timing 2 stroke with a buzzer |
Actually, before you connect the buzzer you have to look for the Top Dead Centre (TDC) of the piston with the dial gauge. From that point turn the flywheel clockwise till the piston has gone 3mm down, then turn it counter clockwise 1.2 mm, Now you're exactly 1.8 mm BTDC. The 3 mm turning clockwise is to rule out any play from the crankshaft.
So with the piston in this exact position the point have to open in order to generate a spark. Well "exactly".. according to the manual it has to be between 2.0 mm and 1.3 mm BTDC.
 |
| Ignition - Timing specifications Yamaha LS3 |
As soon as you connect the buzzer it will start buzzing (of course.. it's a buzzer...) but the trick is to listen/look for a change in tone. At the moment the points open the tone of the buzzer will change. Probably not at the right spot, so you have to loosen the ignition mounting screw a bit and move the points a bit up or down till you find the right spot (between 2.0 and 1.3 mm BTDC)
Looking for the right ignition spot with a buzzer
 |
| Settled for 1.65 mm BTDC - Ignition timing Yamaha LS3 |
With those old 6V two strokes the points hardly wear (there's only about 3.5V between the points), but the points heel will after a while and this will make the max point gap smaller, thus resulting in less advance timing.
After working on the points I sanded them carefully with 180 grit sandpaper and cleaned them with some wax and grease remover.
Ow... I also found a factory mark on the flywheel which was exactly in line with a mark mounted on the stator plate (see pic below). This can't be a coincidence ;)
 |
| Flywheel magneto ignition timing Yamaha LS3 1972 |
After adjusting the points I started the engine for the first time after reassembly. A big moment :)
Running 2 stroke engine Yamaha LS3